Sales Order Approval Workflow Demo
Overview
This demo demonstrates the workflow of adding new order and approve the adding in supOS platform.
Operation Process

Creating Object Service
Create a service under an entity template to add the data to a set database after approving the sales order workflow.
- Log in to supOS platform, and then click
 to go to the design center.
 - Select Object Model Management > Object Template > Entity Template, and then click
 to add a sales order template.
 - Under the template, add a new service, set input and output parameters and write the script below.tip
The service can also be created under an entity instance or a form template.
var formDataJson = JSON.parse(data);
var auditDataJson = JSON.parse(auditData)

delete formDataJson.ctrlIndex;
delete formDataJson.ctrlType;

if(auditDataJson.reject===false){  //save approved data
    templates["{template_namespace.template_alias}"].addDataTableEntry(formDataJson);
}

var result = {
    "code":200,
    "message":"Success"
}
result;
Creating Sales Order Page
Create a page to add new sales order. For details, see Add Sales Order.
Creating Sales Order Workflow
Create the workflow to contain steps such as add a new sales order and approve the order, and after the approval, new order data is added to the database.
- On supOS platform, select Business Designer and then enter the application you created which contains the Add Order page.
- Inside the application, click Workflow Management and then add a sales order workflow.info
The workflow here is a simple example. Actual workflow might requires more complex steps.
- Draw the workflow.
- Add the Add Order page to the first step.
- Add the Add Order page to the second step for review and the object service for approval.
- Click Publish at the upper-right corner to publish the workflow.
Creating Workflow Page
Create a page to link and execute the workflow.
- Inside the same application, add a new page named Initiate Workflow.
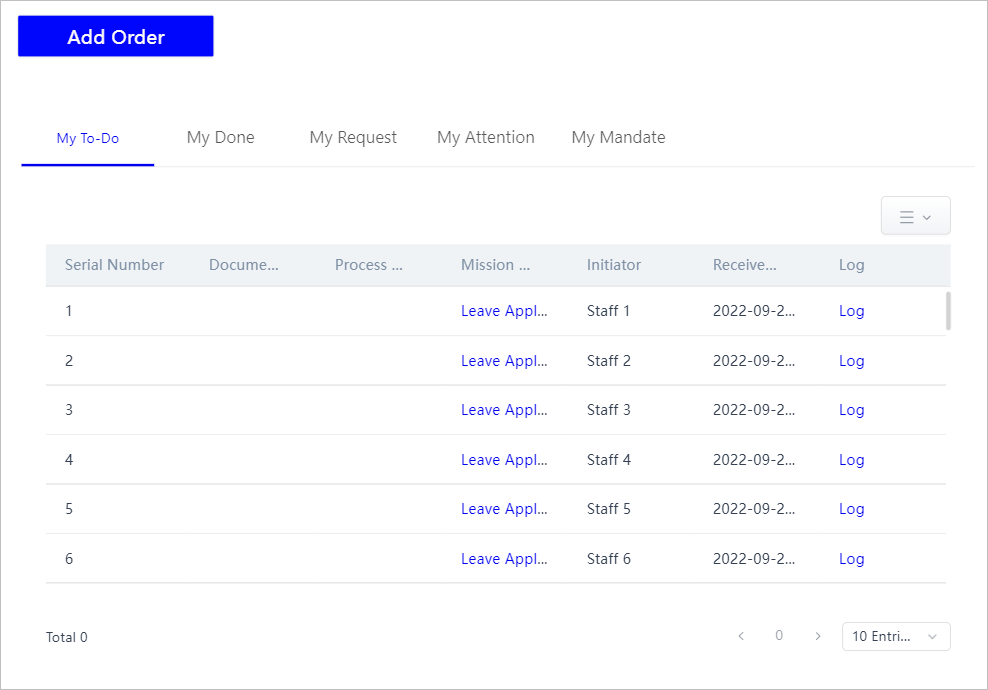
- Add a button and a to-do list to the page and set their properties.
- Set the button style.
- Link the workflow you created to be the click event of the button.
- Save the page.
Demo Effect